The main utilities of Worksheet are organized in a menu accessible at the top of the worksheet space.
[ Open CSV files ]
The annotation csv files can be opened in Worksheet in two ways: if the csv file you want to open is listed in the directory browser you just need to make double-click on the csv file with the mouse; otherwise you can open a csv file gong to the menu path “File → Open Worksheet".
[ Save the annotation in a new file ]
To save changes made in the opened csv go to the menu path “File → Save".
To save changes made in the opened csv into a new csv file go to the menu path “File → Save as".
[ Merge two or more annotation files with Worksheet ]
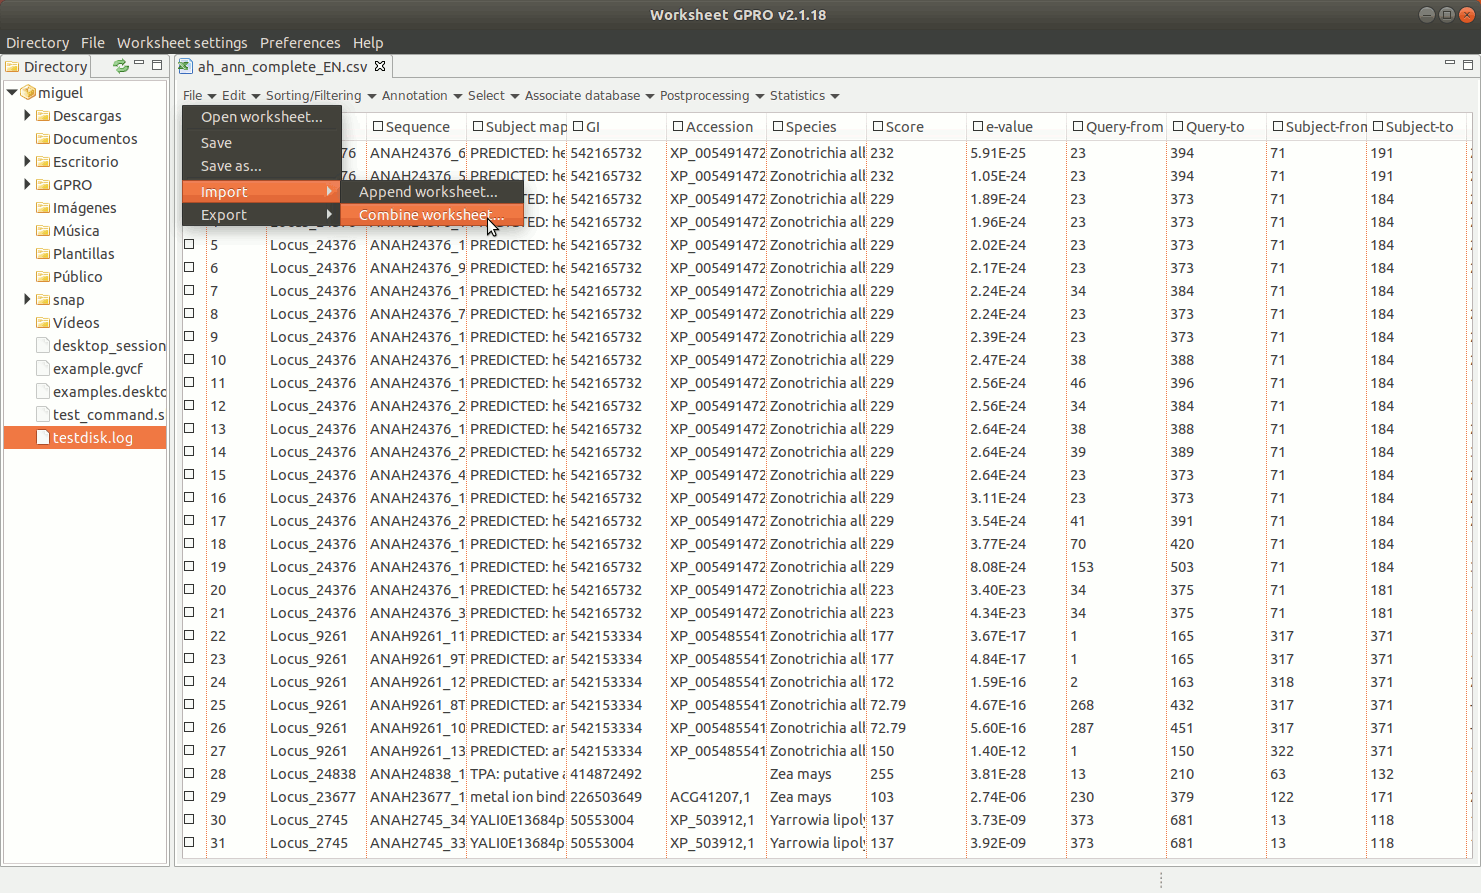
Going to the Worksheet menu “File → Import → Append worksheet” you can access the option “Append worksheet”. This option allows you to merge two or more csv files using one of them as a template (provided that all csv files have the same number of columns and that the columns have the same name).
As indicated in the Figure 8, to manage Append Worksheet go to the path "File → Import → Append worksheet” path of the Worksheet menu. Then a dialog will appear to browse the worksheet you do want to import showing in parallel the name of the available columns for each worksheet to append. If a column name shows by a green icon in the field “status” it means that the column names are identical and that you can proceed to merge the worksheets. If any icon appears in red, please revise the column names of any of two worksheets to make their names to be coincident. If this is the case and you know that the content of this particular column is the same for all worksheet you want to merge you can homogenize the name in all worksheets and then try again. You could also ignore the warning if you are sure that the contents of the same in this column for all csvs to append but if you do this, please check first that effectively all worksheet files to append present the same information in that column (otherwise you can also append wrong information merging information of different columns).
[ Integrate annotations from one or more annotation files into a file ]
"Combine worksheet” is another utility allowing you to integrate a number of selected columns from a csv into another csv using a common column as a link between both files (for example, the column with the sequence name or identifier). Notice that the difference between “Append worksheet” and “Combine worksheet” is that the first add rows with new sequences and their annotations to the template while the second add more columns with new annotations to the sequences already existent in the csv.
As shown in figure 9, to manage Combine Worksheet, go to the Worksheet menu path in “File → Import → Combine worksheet”. Then a new interface will appear showing with two dialogs: the left dialog concerns the csv file already opened by Worksheet that is the file where you are going to integrate new annotations. The right dialog concerns the csv file selected as the source from which you want to take the columns. In both dialogs, the field “Key Column” is provided to select the column that acts in each case as a link to the other csv files. The key column and its content must be present in all csv files to be integrated and the one top which the data. The list "Export Columns” in the right dialog permits selecting which columns must be integrated to the other csv.
[ Export annotations, categories and clusters ]
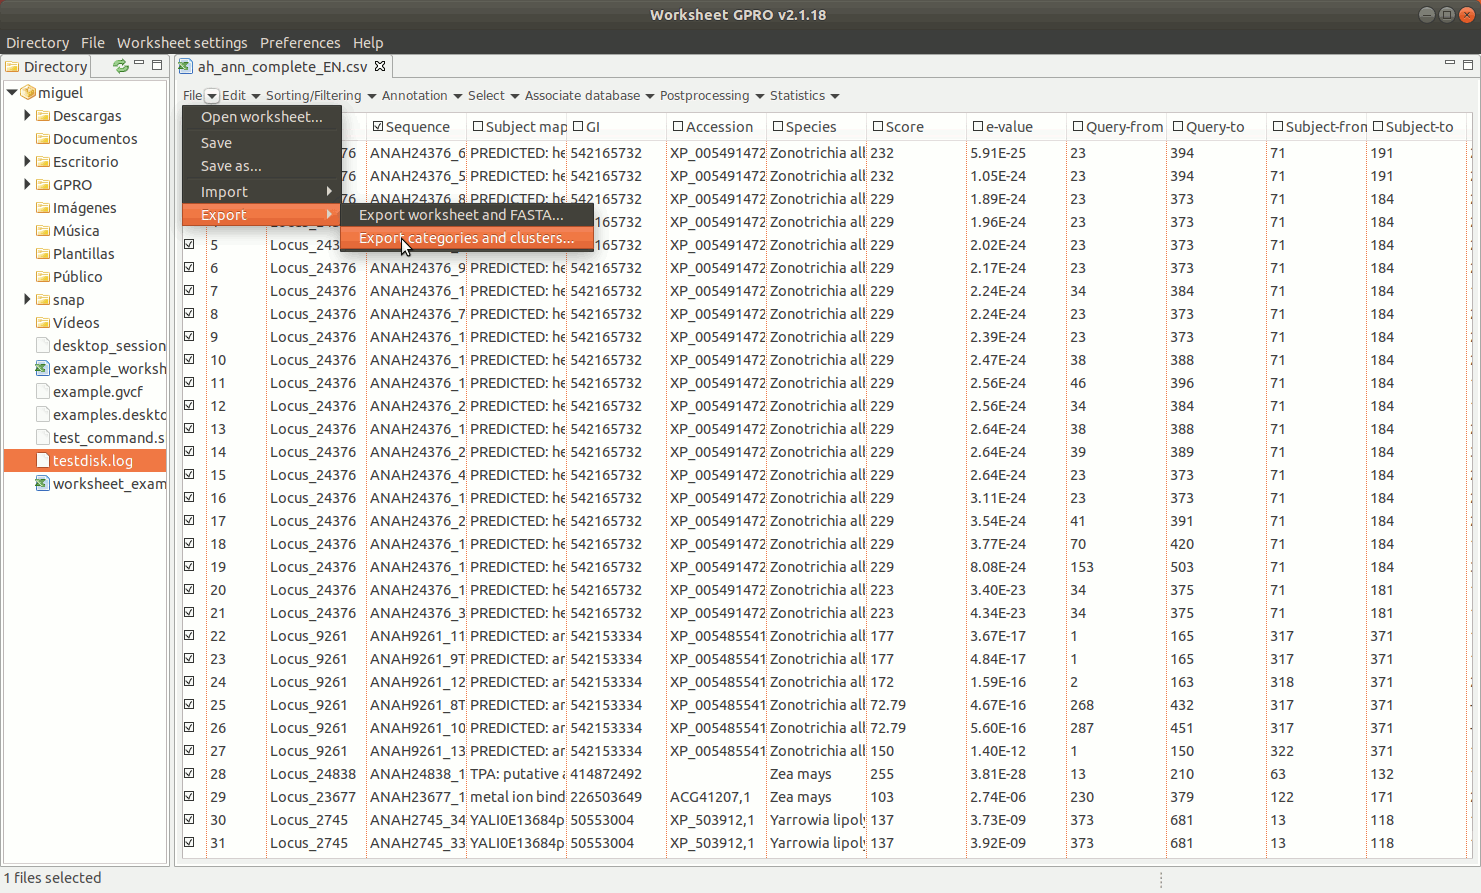
To export a set of annotated sequences, Worksheet allows you to perform a variety of selections on the basis of distinct row/column criteria (function, host, E-value, ontology, etc.) described in next sections of this manual. If you are ready to export results, click on the "Export" option in "File" of the worksheet menu. You can choose among two exporting option: "Export Worksheet and FASTA" and “Export categories & clusters”.
EXPORT WORKSHEET AND FASTA: You can export a selected subset of annotations from the worksheet into a new csv file. If this subset is linked to a fasta file you can also extract the selected subset of sequences and export them in a new fasta file.
EXPORT CATEGORIES AND CLUSTERS: This utility allows you to export sequences (rows) as categories (one file per category) or as clusters (sequence pools created on the basis of common features and exported to a single file) depending on the terms provided in a key column as summarized in Figure 11 below.
[ Undo edits ]
Going to “Edit" → "Undo” in the Worksheet menu you can undo the edits done in the worksheet.
[ Search and replace terms in the worksheet ]
Going to “Edit → Search & replace” worksheet provides you with an interface where you can search and replace contents using:
[ Sort the contents ]
Going to the tab “Sorting/Filtering → Sort” of the Worksheet menu you can re-organize the contents according to the ascending or descending order established by a selected column and the type of data (text or numerical).
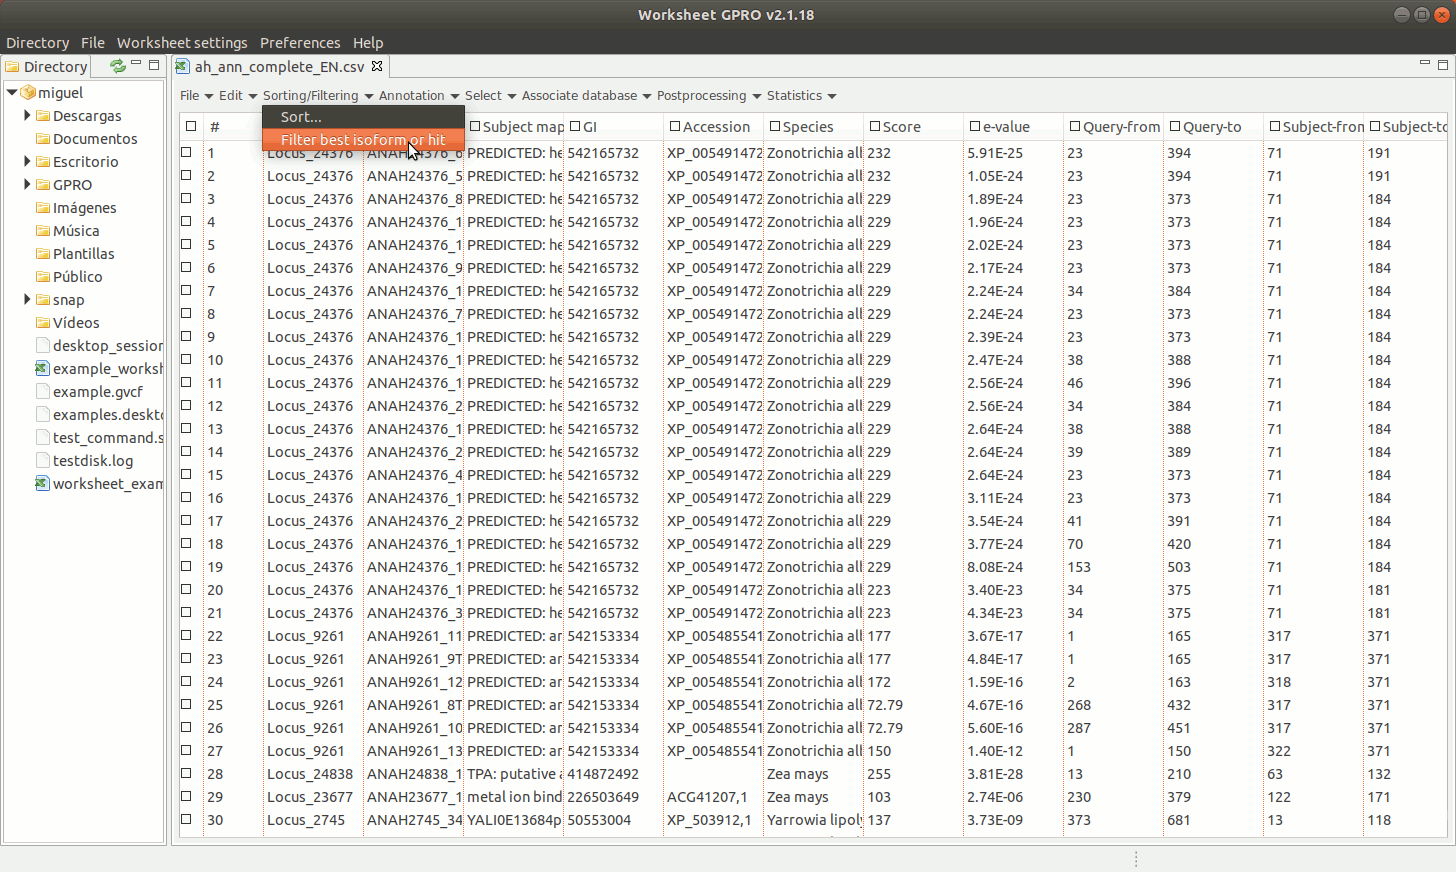
[ Filter sequences by best isoform or by best hit ]
Going to the path "Sorting/Filtering → Filter" best isoform or hit. As shown in Figure 12, this utility provides you with a combination of filters, (up to 5 filters) such as the e-value and score thresholds as well as the HSP ratios for both the query and the subject, to select the most representative sequence among the distinct transcripts or hits annotated per each unigene or accession using blast (Altschul et al., 1990). You can also apply another positional redundancy filter to the selection.
[ Download GenBank Accessions ]
Going to the tab “Annotation → Download GenBank Accesions”, you can download GenBank accession files or fasta sequences from GenBank (Benson et al. 2013).
[ Add Gene Ontology (GO) terms to annotations ]
Going to the tab “Annotation → Add GO terms”, you can add a new column with GO annotations (Huntley et al. 2015).
[ Add Enzyme commission (ECs) numbers to GO annotations ]
Going to the tab “Annotation → Add Enzyme Commision Numbers”, you can add a new column with ECs (Bairoch et al. 2000; Fleischmann et al. 2004. ).
[ Add annotations from knowledge databases ]
Going to the tab “Annotation → Add annotations from knowledge databases”, you can simultaneously add new columns with IDs or accessions from different knowledge databases such as the GenBank, Uniprot/SwissProt (Schneider et al. 2009), InterPro (Finn et al. 2017), as well as the GO and the EC vocabularies.
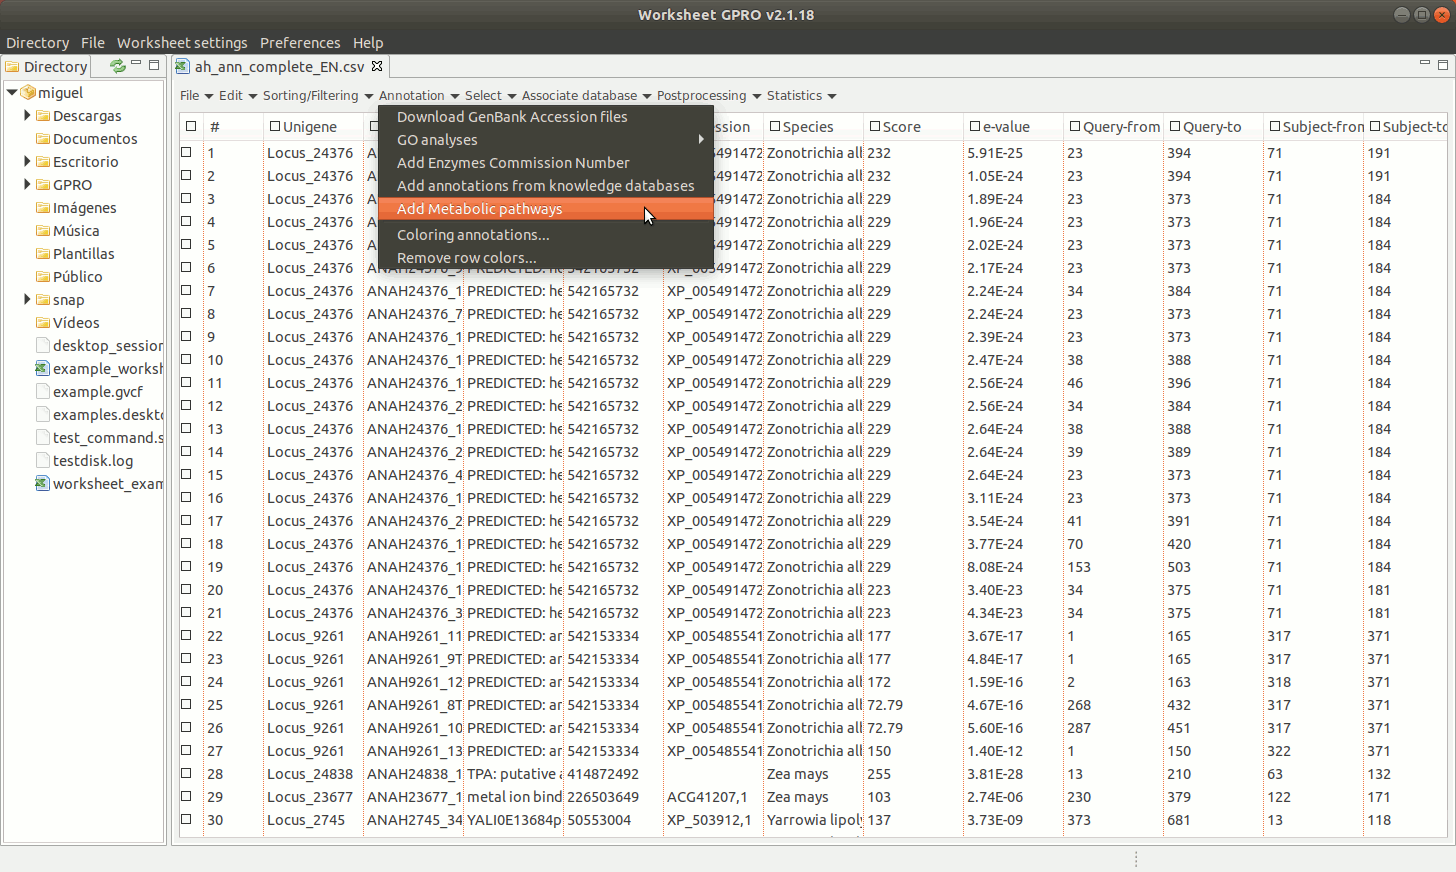
[ Add Metabolic pathways ]
Worksheet also offers the possibility to mine the web of the KEGG database (Kotera et al. 2012) using the ECs if your CSV file has a column with EC annotations. Bear however in mind that we only facilitate a link to the KEGG in good faith for you to retrieve the information via web but not a license of use. The Kyoto encyclopedia owns KEGG database. Even if KEGG is a resource freely available online, please read carefully the terms and conditions provided by the owner before use the material for you to know what you are granted to do with this material.
[ Coloring Annotations ]
Going to “Annotations → Coloring annotations” you can configure the preferences to color the rows according to specific criteria. For instance, you can distinguish between non-significant and significant hits or between sequences with GO annotations and EC, etc.
[ Remove colors from annotations ]
Going to “Annotations → Remove row colors” you can undo any previously color action done on the annotations.
The worksheet menu provides a drop down menu with different functions to select annotations according to different criteria of selection:
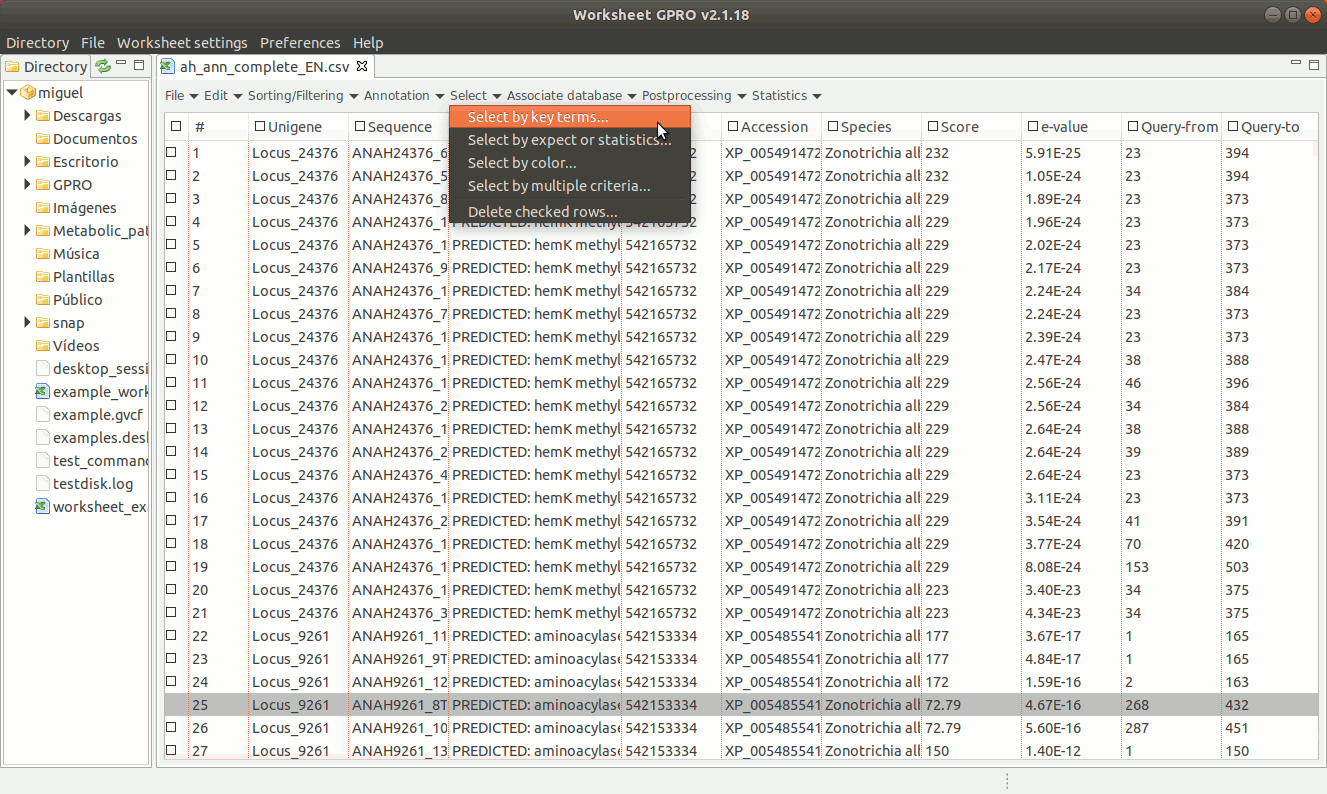
[ Select annotations using key terms ]
As shown in Figure 14, going to “Select → Select key terms” lets you to select sequences (i.e. rows) using specific terms matching to a particular column. You only need to press the “Add” tab to enter the term you want to use as criterion for selection. You can add more terms and perform the search using multiple terms and select also a particular a color (for each term) in order to highlight the sequences whose annotation matches with that term.
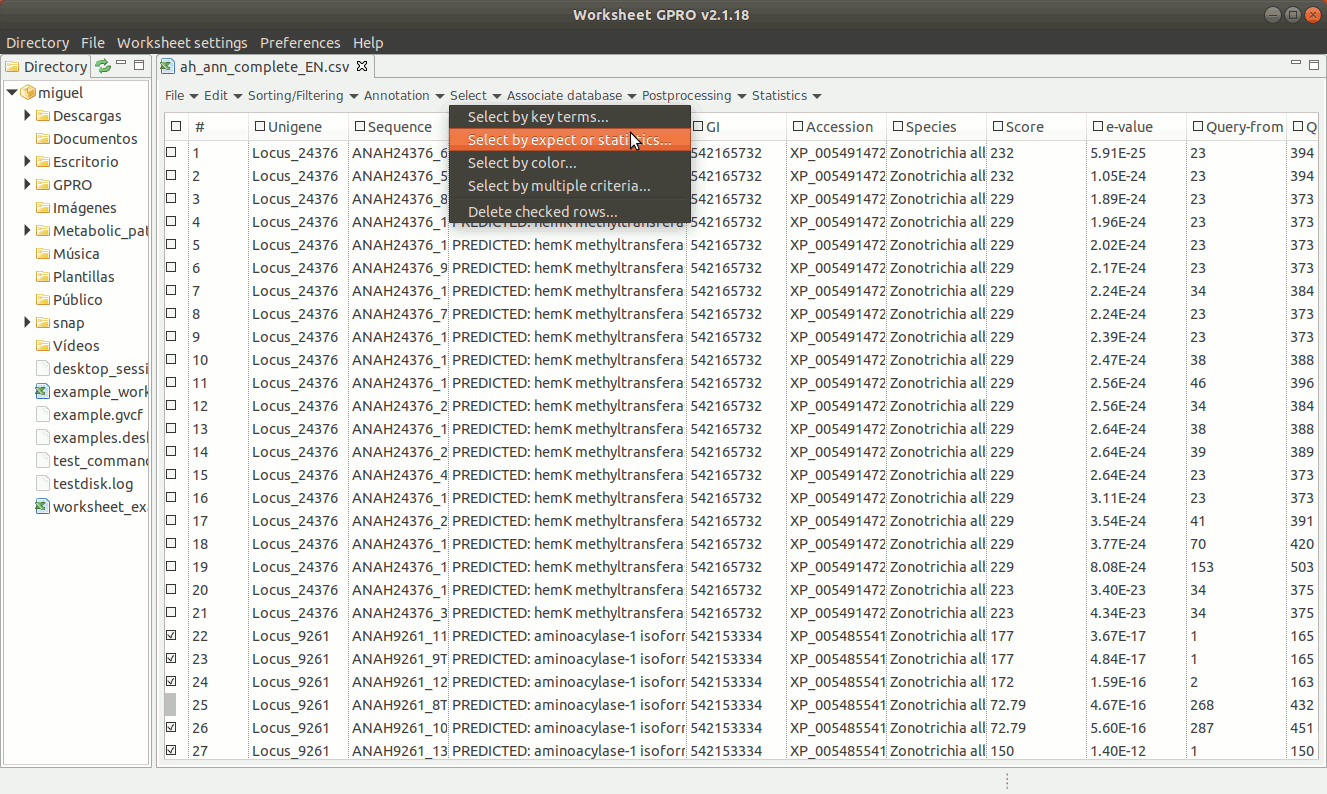
[ Select annotations by expect or statistics ]
The selection by expects or statistics can only be performed on columns containing numerical data. As illustrated in Figure 15 below, going to “Select → Select by Expect or Statistic” you can select annotations according to any numerical value (score, significance, size, chromosome, etc.).
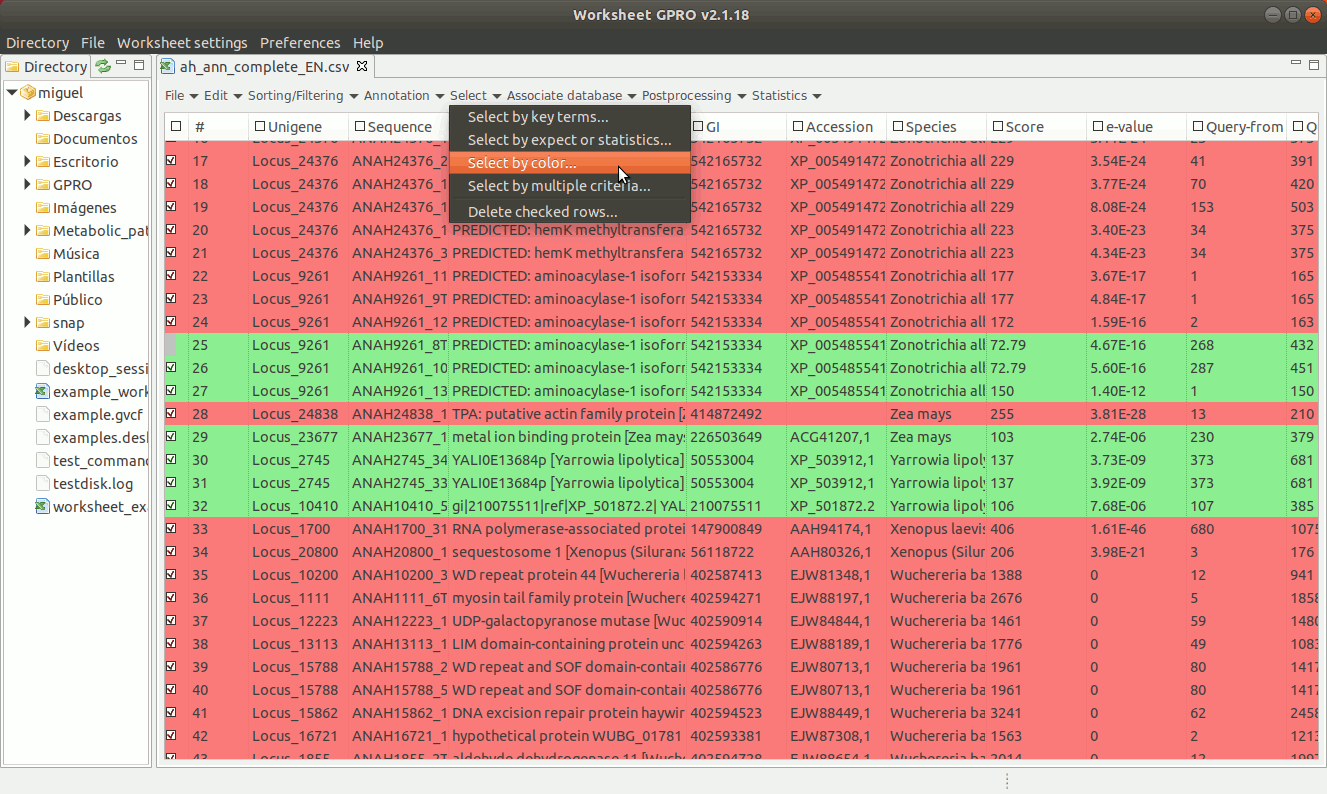
[ Select annotations by colors ]
As shown in Figure 16, if you have already assigned different colors to your annotations, you can go to the “Select → Select by Color” worksheet menu path and then select rows from the set of previously colored rows.
[ Select annotation by multiple criteria ]
Worksheet also allows you to make selections combining terms that can either be qualitative or quantitative to select annotations according to the contents of several columns. To do this go to the menu path “Select → Select by multiple criteria” a dialog table will appear (Figure 17) allowing you to append as many terms as criteria needed to make the selection using multiple columns.

Once the annotations have been selected (rows will appear checked in the worksheet) you can export them accompanied by all or by some annotations (description, host, E-value, accessions, etc) by selecting the columns you want to export going to the path “File → export Worksheet and Fasta. If you have previously associated a fasta file with the worksheet, you can also export a subset of sequences according to the selection performed in the worksheet personalizing their fasta headers according to the selected columns. For detail about how to export the annotations and the sequences see the section above “Export annotations, categories and clusters”, for details about how to link a fasta file to the worksheet see the next section of this manual.
[ Select checked rows ]
After the selection of rows in the Worksheet you can remove the sequences selected going to the menu path “Select → Delete checked rows”.
You can link a fasta file containing sequences to the worksheet provided by it has a column whose text content is identical to the fasta header of the sequences (for instance seq1, seq2 … seqn). Once the link is established you can tune the fasta header of the sequences selecting one or more columns from the worksheet (for instance seq1|integrase|accessionXX, seq2|hydrolase|Aaccession XX) to personalize the annotation of the sequences. Finally you export the new fasta file or a subset with the edits in the fasta header. For detail about how to export the annotations and the sequences see the section above “Export annotations, categories and clusters”.
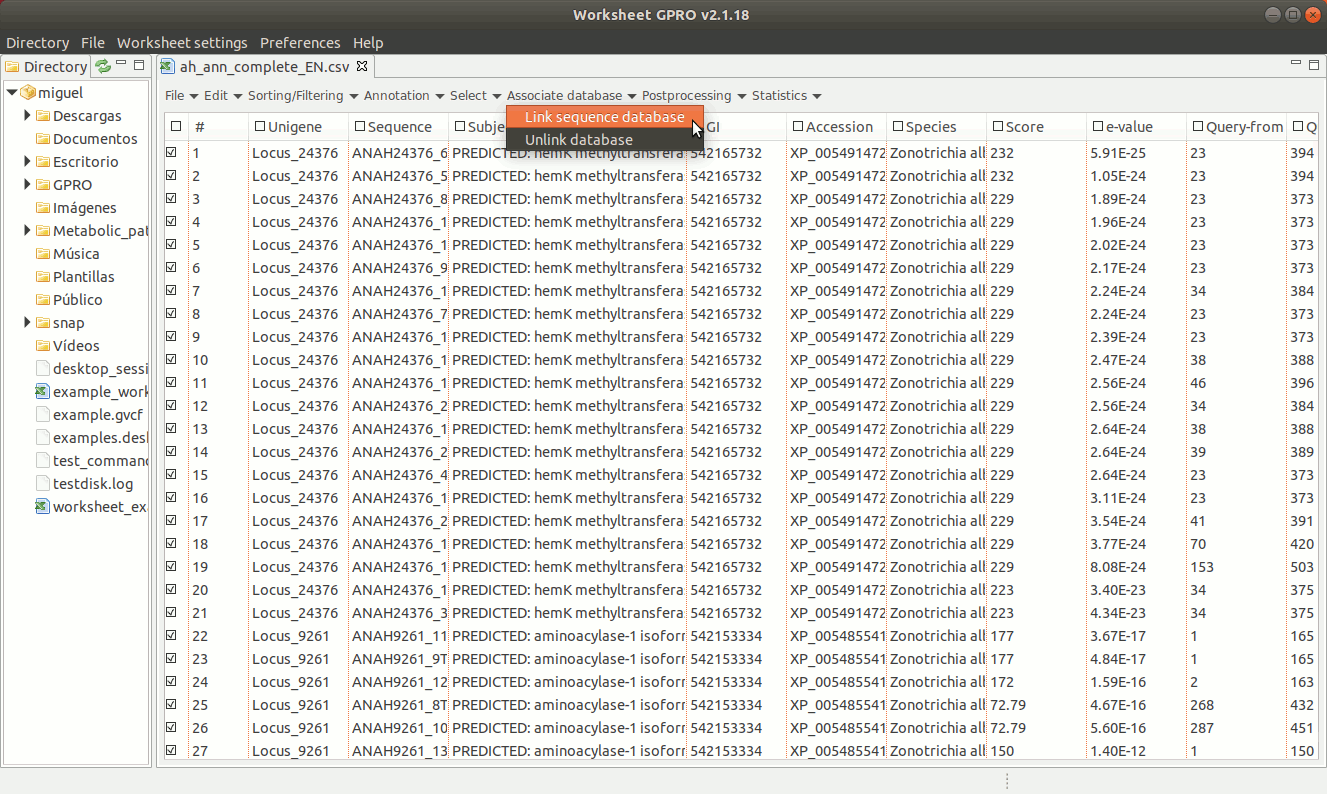
[ Link a sequence fasta file to the Worksheet ]
As shown in figure 18, to establish a link between a sequence file and the worksheet, go to the menu path “Worksheet menu → Associate database → Link sequence database”. Then a new dialog will appear to select the column with the sequence names you must to use to make the link. Then, browse the fasta file from your PC directory and remember that the text contents of the worksheet column used to link the fasta file must be identical to the fasta headers for each sequence.
[ Unlink the FASTA file ]
The link between the worksheet and the fasta file are maintained even if Worksheet is closed, to remove the link association, just go to the menu path “Associate database → Unlink database”.
Worksheet also offers three complementary utilities for curating the annotation and/or the fasta sequences according to your knowledge of these sequences annotations.
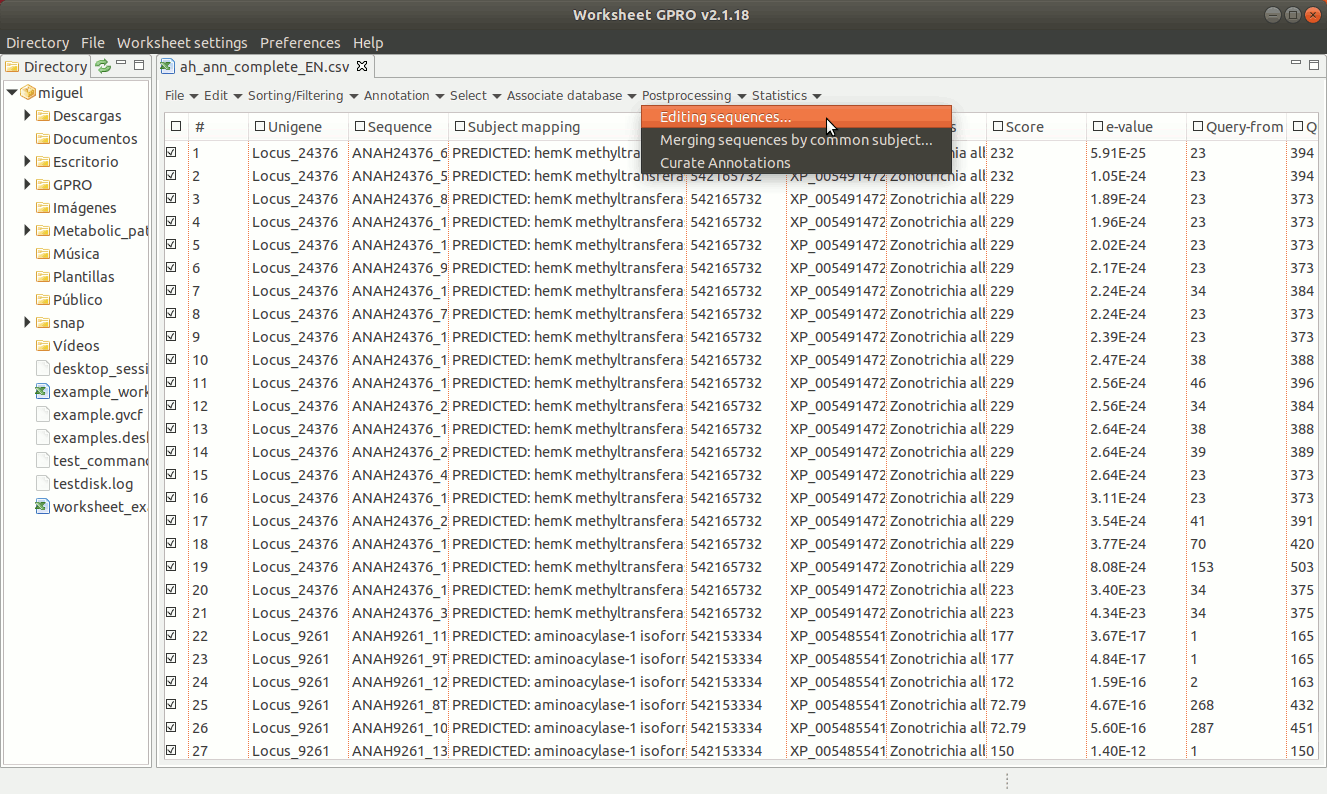
[ Editing sequences ]
There are three editing possibilities (trimming, masking and Core in uppercase) to edit fasta sequences according on the similarity relationships (normally provided by blast or similar) between your sequences (the queries) and the hits. Going to ”Postprocessing → Editing sequences” you will access an interface that besides of the csv file with the annotations it allows you to upload a fasta file with your sequences. As shown in Figure 19, to edit the sequences you need to specify some parameters to identify which sequences can be considered, as full-length cDNAs (when both the HSP query and the HSP hit are both near to 70-100%) or partial sequences (otherwise). If a sequence is classified as full-length sequence, Worksheet will search (if available) both the start and stop codons.
In case of not finding start or stop codons, Worksheet will consider to extend upstream and downstream the core alignment defined by the start and end coordinates until a stop codon is found in each case.
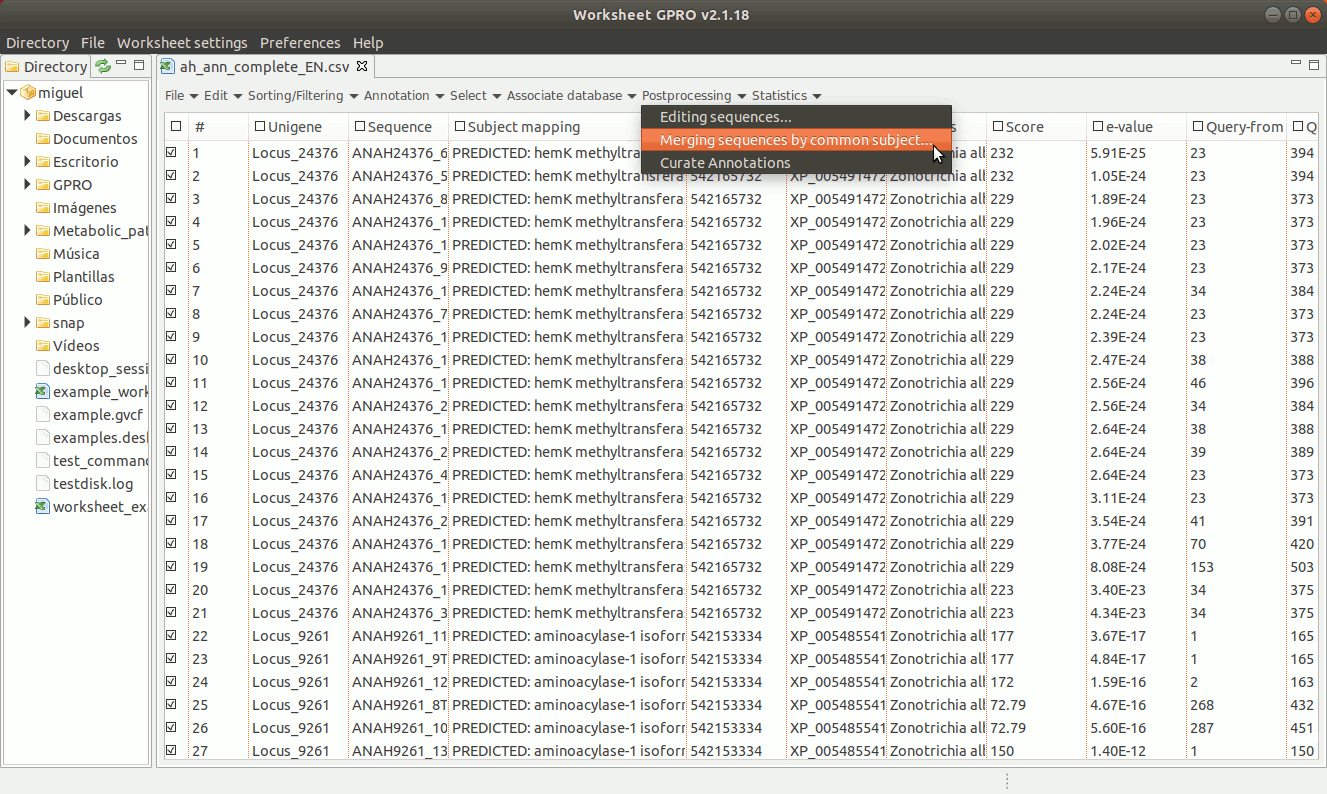
[ Merging sequences by common subject ]
You can merging two or more sequences with the same subject annotation (GI or description) going to ”Postprocessing → Merging sequences by common subject”. If you do so, an interface will appear allowing you to read the fasta file and the csv file with the annotation. Then set the columns of your csv file that contain the subject accession or ID, set the start-end coordinates of the query and the subject: set the query and subject sizes as well as the orientation of the query respect to the subject. You can decide to merge overlapping or non-overlapping sequences or both.
If you merge non-overlapping sequences, gaps will be covered with “Ns”. If you merge overlapping sequences, Worksheet will try to know if the identified overlap permits to merge or not the transcripts as overlapping transcripts considering the subject alignment coordinates. If you select to merge overlapping sequences you must also set in the interface an identity threshold for the overlapping where the allowed lower identity value is 90. Then, Worksheet aligns the 3´and the 5´ends of both sequences and, if the alignment fulfils the identity threshold, the two sequences are merged and the overlapping region is written as a consensus. Optionally, you can also trim some nucleotides of the 5´and 3´ends (up to 10 nucleotides is allowed) before trying to align the transcripts.
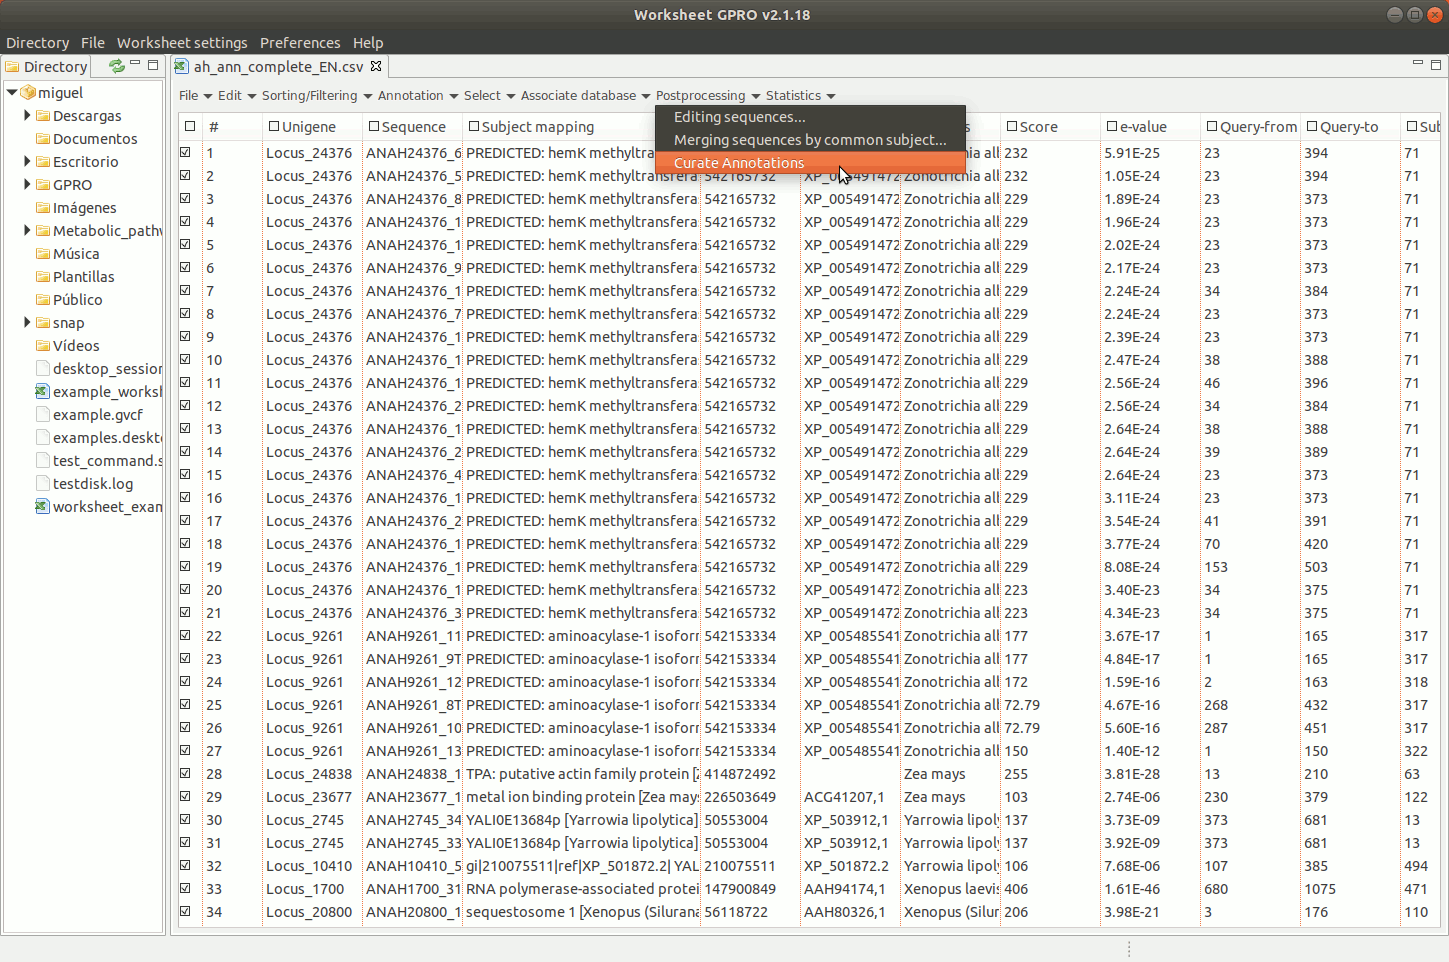
[ Curate annotations ]
Worksheet also allows you to curate your annotations by merging, fusing and/or editing them according your knowledge of these features. This utility can be useful for instance to fuse annotations with the same ID corresponding to partial transcripts or to fragments of ORFs that are interspersed in a genome. taxonomy or classification
To manage this utility, go to the worksheet menu path “Postprocessing → Curate annotations” and complete the interface form with information regarding the column you want to use a reference (usually the sequence name) and also the columns with info regarding annotation reference (usually the blast subject) start/end coordinates, size and orientation. Then, the interface will provides you some options to merge overlapping or non-overlapping features considering maximum distances and some advanced merging options allowing you to combine distinct columns to identify that several annotation even with different IDs may belong to a common higher feature (for instance distinct gene of a mobile genetic element interspersed in the host genome).
Worksheet offers tools to create basic statistic plots based on annotations but also tools to analyse the functional profile of your dataset according to the annotation of GOs.
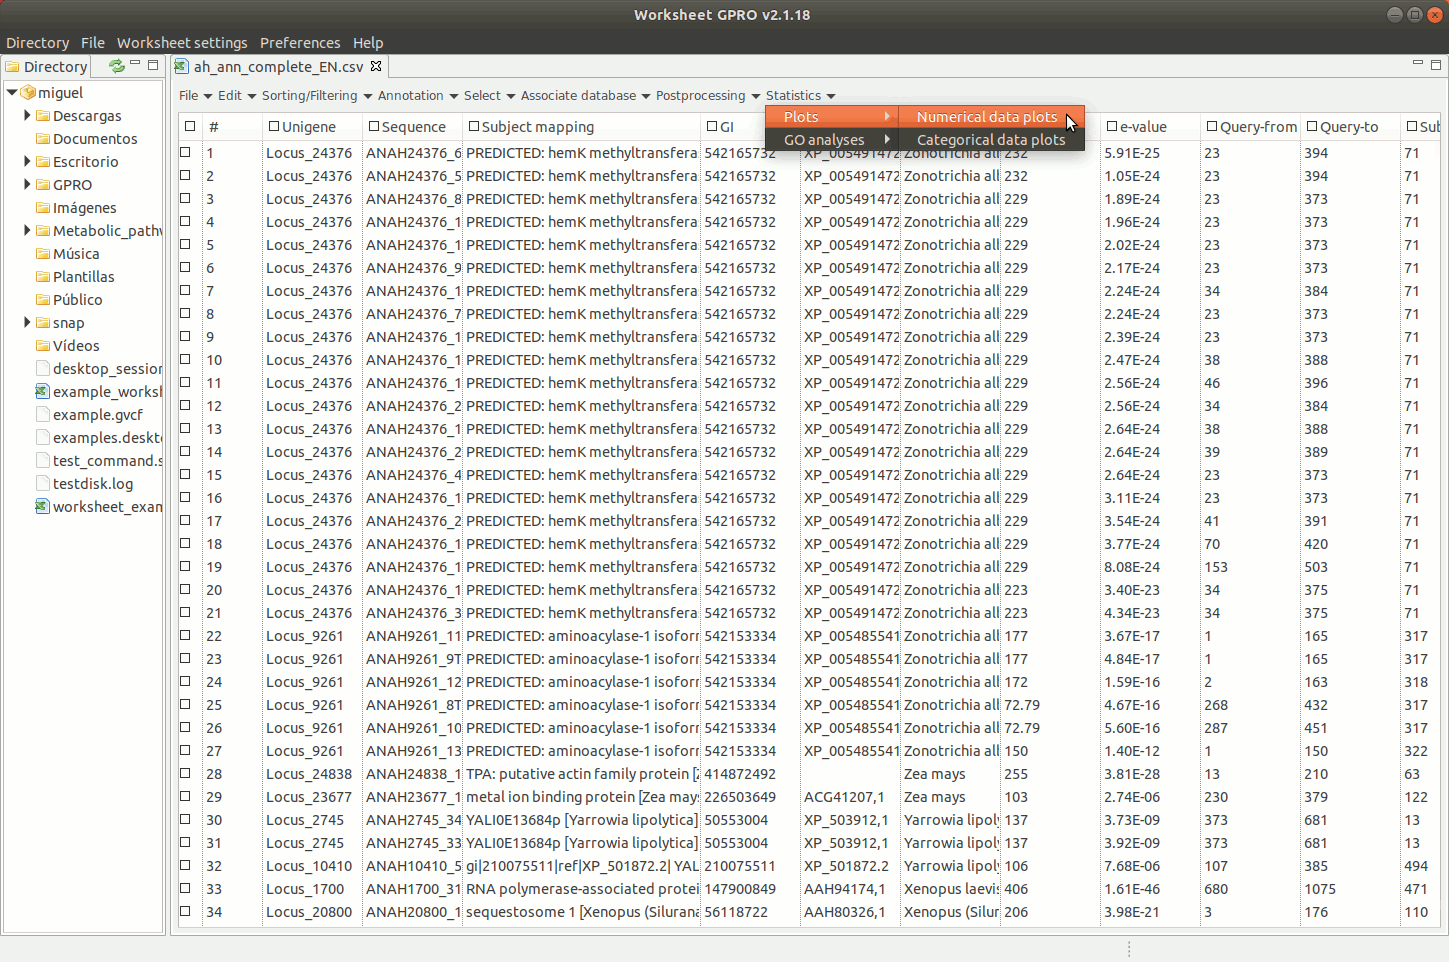
[ Graphical plots ]
Going to the menu path “Plots” worksheet gives you access to two interfaces to create graphical plots selecting a particular column of the worksheet: one interface applies for numerical or quantitative data (for instance, e-values, scores etc) and the other for categorical (qualitative) data (IDs, descriptions, names, species). The interfaces give you some options to make 2D or 3D “Bar plots” or “Pie charts”, tune plot colors etc. Plots are represented in a window available at the bottom of Worksheet space where you have additional utilities to manage the plot or for exporting it as an image file or as a matrix table (right clicking on the image with the mouse).
[ Functional analysis based on GOs using the DAG ]
GO analyses are based on the GO multidisciplinary initiative, which was created created by the GO consortium (Huntley et al. 2015) with the aim to provide a controlled vocabulary of terms describing and annotating gene product data. GO is a component of the Open Biological and Biomedical Ontologies (OBO) for shared use of vocabularies across different biological and medical domains. GO covers three domains: Cellular component (CC) in reference to the subcellular localizations of a protein; Molecular function (MF) referring the function of a protein at the molecular level; and Biological process (BP) that describes processes in which the protein annotated is involved
Worksheet provides 3 interfaces to manage the GO analysis:
Going to the menu path “Statistics → Go Analysis → Evidence Code Weights” you can set weights to the evidence code of your GO annotations using an algorithm of GO annotation inspired in the one applied by BLAST2GO (Conesa et al. 2005).
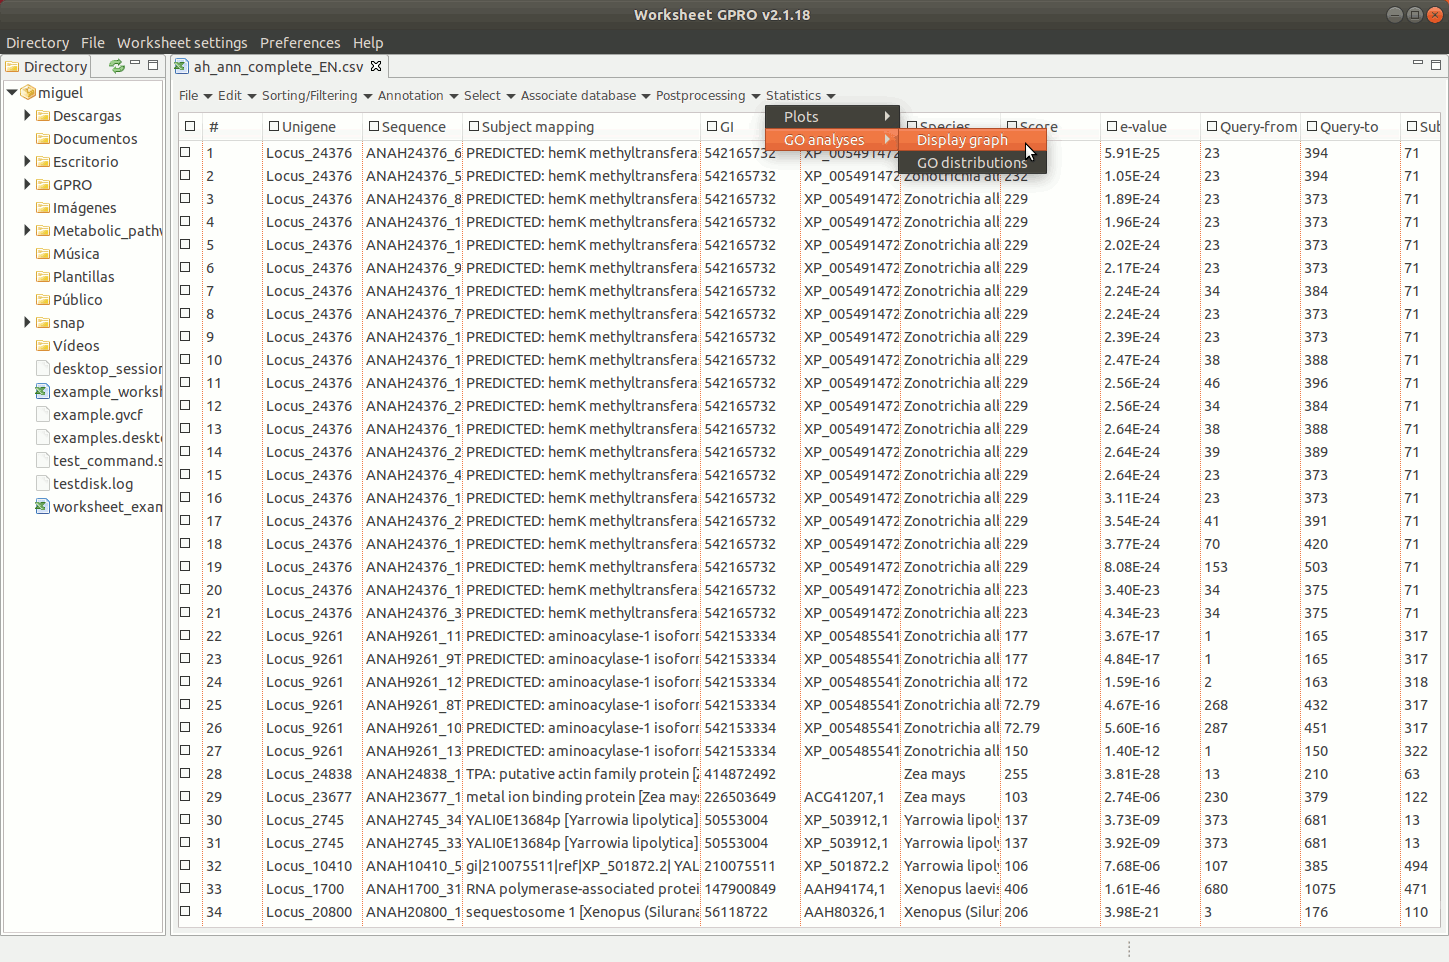
Going to the menu path “Statistics → Go Analysis → Display graph” you can navigate the GO Directed Acyclic Graph (DAG) provided by Worksheet to assess the parental-son relationships of all GO terms.
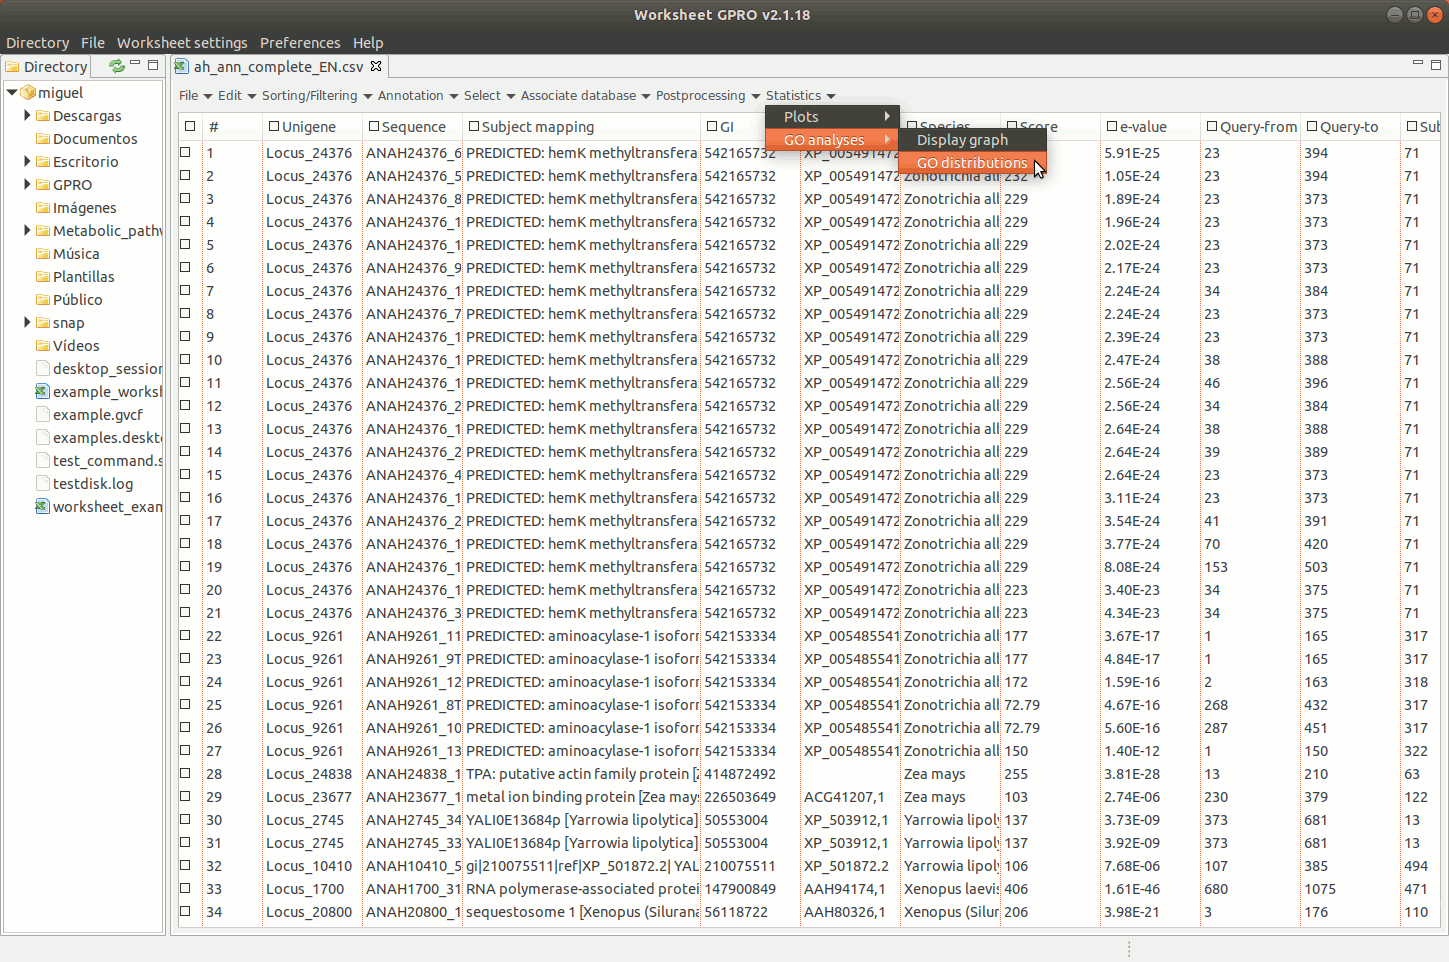
Going to the menu path “Statistics → Go Analysis → GO distributions” allows you to obtain the distribution per CC, BP and MF GO applying several filters (number of sequences, distance decay, node score, DAG level, ontology level of the term etc). Graphical representations are represented in worksheet space. By right clicking on the image of GO distributions, you can export the results either as an image or as a matrix table.